
This charming crochet placemat pattern is both practical and delightful to make. It’s a wonderful project for beginner crocheters, featuring the beautiful star stitch—an easy-to-learn technique that gives a surprisingly intricate look. Whether you’re crafting for your own table or as a handmade gift, this pattern is as enjoyable as it is impressive.

This post includes affiliate links that I earn a small commission from at no cost to you, see my full disclaimer.
The Star Stitch
This is a beautiful stitch to master and one that I think should be used more often. Once you have mastered which stitched to pull the loops through and how much of a loop to pull through the rest is very easy. Let me show you how to create the wonderful crochet star stitch

The star stitch starts by inserting the hook into left side of the stitch or chain just made, pull up a loop. Insert hook into the last stitch worked, pull up a loop. Insert hook into next two chains, pulling up a loop each time, you should have five loops on the hook.
Yarn over, pull through all five loops and chain one, this closes the star stitch. You have completed your first star stitch
To continue the row you need to insert the hook into one strand of the last loop, it will be on the left edge of the previous star stitch, pull up a loop. Insert hook into the last loop of the previous star stitch, pull up a loop.

Insert hook into next 2 chains, pulling up a loop each time, again you should have five loops in total on your hook. Yarn over, pull through all five loops. Chain one to close star.
Don’t forget to chain one at the end of each star to finish the stitch this is important.
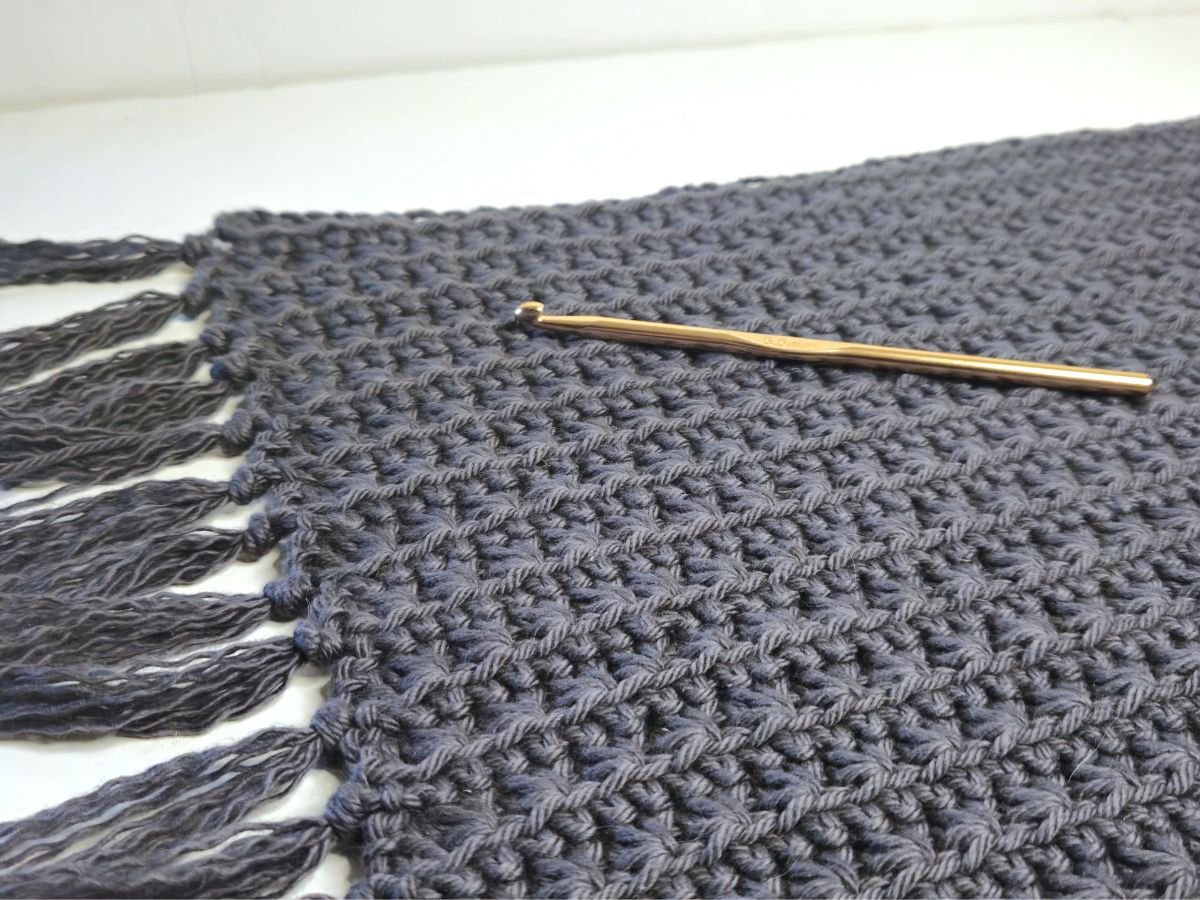
The Fringe Edge
You don’t really need to add the fringe but I found this detail really finishes off the placemat nicely. It does take a little time adding all of the tassels and splitting them but it is worth taking the time adding it.
To make the fringe you will need to cut thirty four lengths of yarn approximately five to six inches long. This will give you two lengths of yarn per tassel.
Holding two lengths together thread them through the side gap of each double crochet along the placemat edges, there should be seventeen per side.

Knot the strands together by looping around your finger and pulling through. Cinch the knot tight trying to keep the knot tight against the edge of the placemat.
Once all tassels are added, gently separate the plies of each strand for more of a fuller look. Lastly, trim tassels evenly, if it is needed.
What you need to make a Crochet Placemat
- Worsted or Aran weighted yarn, to recreate the exact placemat I made I used Estelle Sudz Cotton yarn and it took just over two balls to make one placemat. If you are wanting to make four I would recommend buying at least ten balls. Some good alternatives would include, hobbii 8×8 cotton or Lily sugar n cream you can also check out this substitutions website for more options.
- 5.5 mm crochet hook
- Scissors
- Yarn needle for weaving in ends
- Two stitch markers for the ends
How to make a Crochet Placemat Video Tutorial

How to make a Crochet Placemat
To start this pattern you will need sixty one chains.
Foundational rows
Row one will be a Star Stitch row and this row is going to be repeated throughout the pattern. Begin with a double crochet stitch in the third chain from hook. How to crochet a star stitch is shown above.
To begin the star stitch rows the first loop will be through the left side of the double crochet then continue as you would for any star stitch, as in pulling loops through the last stitch worked and the next two chains.

You will repeat this stitch now until you have one chain remaining to be worked. Double crochet this last chain. Chain one and then turn your work.
For the second row and again this row is going to be repeated throughout the pattern. Single crochet in the front loop only of the double crochet just made now repeat this stitch across the row, crocheting into the stitches and chains along the row. Make sure that you do not miss the start and end double crochet stitches as they can be difficult to see at times.

I really like to use stitch markers in these end stitches I find that by doing this I don’t have to guess which stitch to start on or end on.

Continuing the pattern
You will repeat these two rows fourteen more times, these are rows three to sixteen. the odd rows will be the star stitch, with the even rows being the front loop only single crochets.
For row seventeen we will end with one last star stitch row. Fasten off and weave in ends using a yarn needle. This completes the crochet part of the pattern.

I would now recommend that you block the placemat this will help it to sit flat and straight. Do this by completely soaking the placemat in warm water, then gently using a towel squeeze out as much water as you can. now either use blocking pads or just lay it out onto a towel and position it as you would like it and leave it to dry completely.
To complete the pattern add the fringed edge, this is optional so it is up to you if would like the add them. You can see how to make the tassels above.

Care Notes:
- Wash on a gentle cold cycle and lay flat to dry for best results.


Leave a Comment