

I am a bit useless when it comes to using oven mitts, I have a bad habit of just grabbing a tea towel and using that instead. So lets make a set of oven mitts that look good, and that make you want to use them.

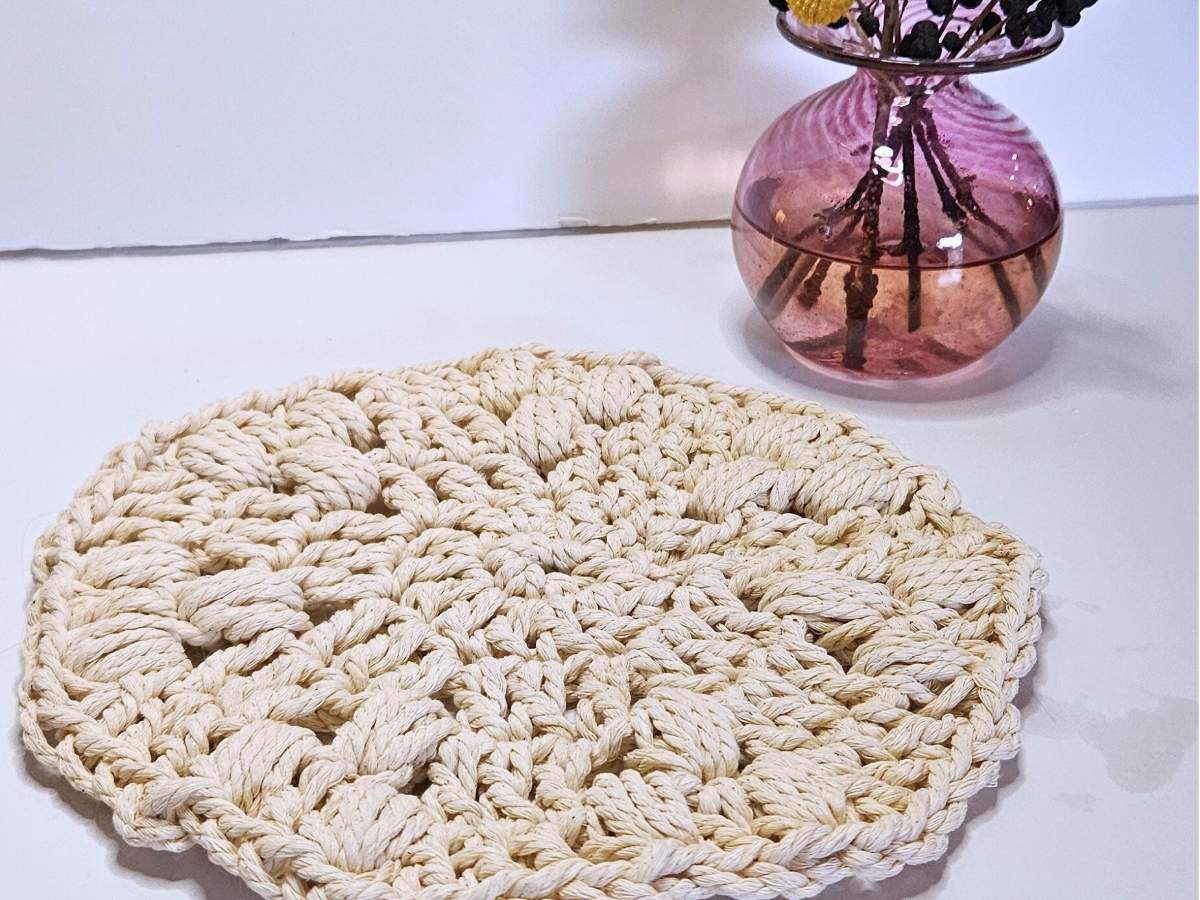
I have used macrame cord for this pattern as it is nice and think and also made from cotton which is what we need. It also uses up any extra rope you may have lying around.
I have made other projects from this rope. The potholder and the coasters. It’s a great material to use for projects like this and super easy to crochet or knit with. It is also nice and thick which is ideal, we don’t want to burn ourselves.

This post contain affiliate links that I can earn a commission from, this is at no cost to you.
Use the oven mitts with caution
Like you would with anything always use with care when handling anything hot. If there is a hole in your mitt then obviously don’t use is. I also wouldn’t recommend using it if there is hot liquid, you do not want it to leak through.
What you will need
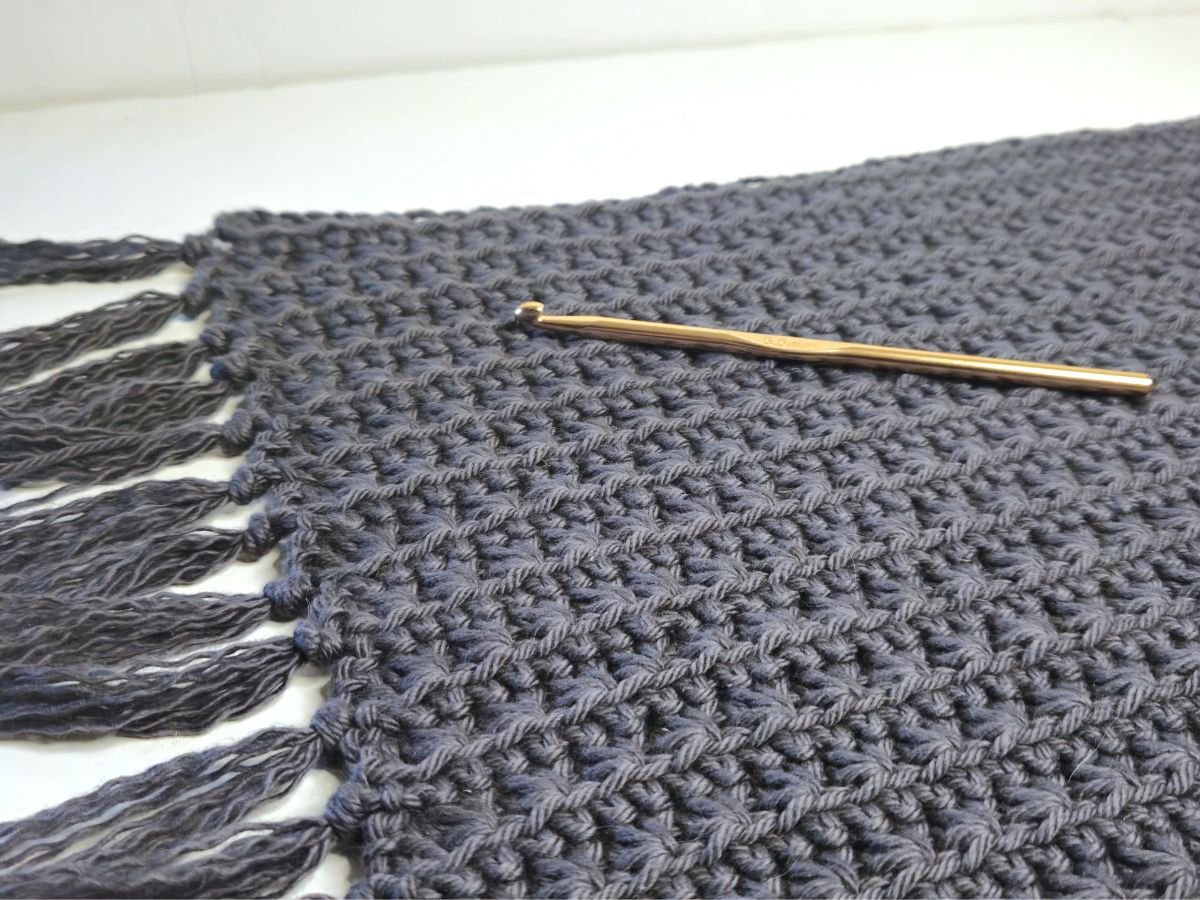
- 4 mm macrame rope. It is thick and quite bulky but I would rather be safe and not be burned so I found this thickness works great for that. Click here for rope.
- 10 mm Crochet hook, Click here.
- Stitch markers, You will need at least four. I use ones like these. I find them easy to take in and out, I also have homemade markers I like to use that are really pretty, I will share a how to for these soon.
- Scissors
- Large embroidery needle, with a large eye loop. This is thick rope I have found the plastic needles the best for this, click here.

Stitch Abbreviations to know
CH. Chain stitch. This stitch begin all crochet patterns. Start with a slip know on your hook. Wrap yarn around hook and draw through the stitch that is on the hook.
SC. Single crochet. If you are in the UK it is also known as a double crochet. You put your hook through the loops of a stitch draw through the yarn, wrap the yarn over the hook again and pull that through the two stitches on your hook.
SL ST. Slip Stitch. This meant when you draw your yarn through the loops like you would for any other stitch, instead you don’t want to wrap the yarn over the hook again like you would for the single crochet, you are just going to pull it straight through stitch on your hook.
FLO. Front loop only. So when looking at a crochet stitch it looks like it has two loops and normally you want to go through both of these loops. But for this pattern you only go through the front loop.

DEC. Decrease by crocheting two stitches together. Begin as you would for any other stitch. Insert hook, wrap the yarn and draw through. Now instead of wrapping yarn again go into the next stitch and again wrap yarn and draw through. You should have three stitches on your hook, wrap your yarn once more and draw through all three stitches. That’s your decrease.
Check out the video for a more in depth description.
So lets begin.
How to crochet oven mitts
This pattern is crochets in a round. This means there isn’t a seam up the sides. It is all one piece.
The body
Begin by making a slipknot and placing it onto your hook.

CH 22 stitches.
Now this can feel tricky, you want to make sure it isn’t twisted. Join to the first chain stitch with a SL ST to form a loop.

CH 1. In the same first SC that you did the SL ST SC then SC all the way around the loop. Make sure to add a stitch marker to the first SC, that way you know where the beginning is. I also add a marker to the last SC, this is because especially to beginners (I have made this mistake too) the SL ST and CH can look like actually stitches. We do not want to SC into these.

SL ST in the CH 1 this may look like the stitch before your first SC, CH 1. Now we are going to SC in the FLO, place marker in that first stitch and continue round the loop to the last marker. Don’t forget the move your markers up to the new stitches as you go don’t leave them below.
Repeat this row 9 more times. You should have 11 rows in total.
The fingers
Now we are going to divide off some stitches for the thumb.
Begin the row as before with the SL ST and CH. SC four and place a marker.

SC around the row until you are three stitches before the end marker. Place another marker.
SL ST into where you placed that new marker. The one in the forth stitch. CH 1. SC FLO into that same stitch. Continue SC FLO around.
Repeat as you have with the other rows by SL ST into the CH 1. CH 1 and SC’s in FLO.
Continue for 5 rows
Now we are going to decrease. SL ST, CH 1 as you have been doing then DEC the first two Stitches. SC FLO into the next Six. DEC next two stitches together. SC FLO to end. (14 stitches remain)
Next row SL ST, CH 1, DEC first two stitches, SC FLO into the next Five. DEC. SC FLO to end.
Again SL ST, CH 1, DEC first two together., SC FLO the next Four. DEC. SC FLO to the end.

To close of the end gap we are going the SL ST the sides together. SL ST the first SC with the last SC. (the SC you just made) move across the row sealing up the top as you go. You should do Five SL ST’s the last one can be tough to see. Putting your hand into the mitt and stretching it can help.
Cut yarn leaving a tail you can weave in and tie off.

The thumb
Going back to the thumb. Add a slip knot to your hook.
The last stitch marker should still be there, now including this last stitch count back three stitches. insert hook in FLO and SC FLO those three stitches. The original starting marker should also be still there, in the CH before this marker SL ST and CH 1. SC FLO three times. Now to connect to body. SC four times in this gap, picking up the loops from the finger portion we just crocheted. Continue the round by SC FLO the last three stitches. You should have 10 SC now for the thumb.

Repeat your next two rows as you have for the others. SL ST in CH. CH 1. SC FLO around.
Last row. DEC, SC FLO three times, DEC, SC FLO to the end marker.
Seal end as you did before by SL ST two together. There should be three SL ST’s total.
Cut off leaving a tail and tie off.
Finishing off your oven mitts.
Weave in any ends using an embroidery needle.
The wrong side is actually facing outwards, so you will need to turn the oven mitt out so that the right side is on the outside. It is a bit stiff and fiddly but it isn’t too hard to manage.
You have a finished mitt.

Optionally if you would like to hang it up you could tie a some leather lacing to the bottom corner and create a loop to hang it from.
Like I said above always use caution when handling anything hot.

Let me know if you enjoyed making this pattern or if you have any suggestions for improvements. I would love to hear from you.


Leave a Comment