
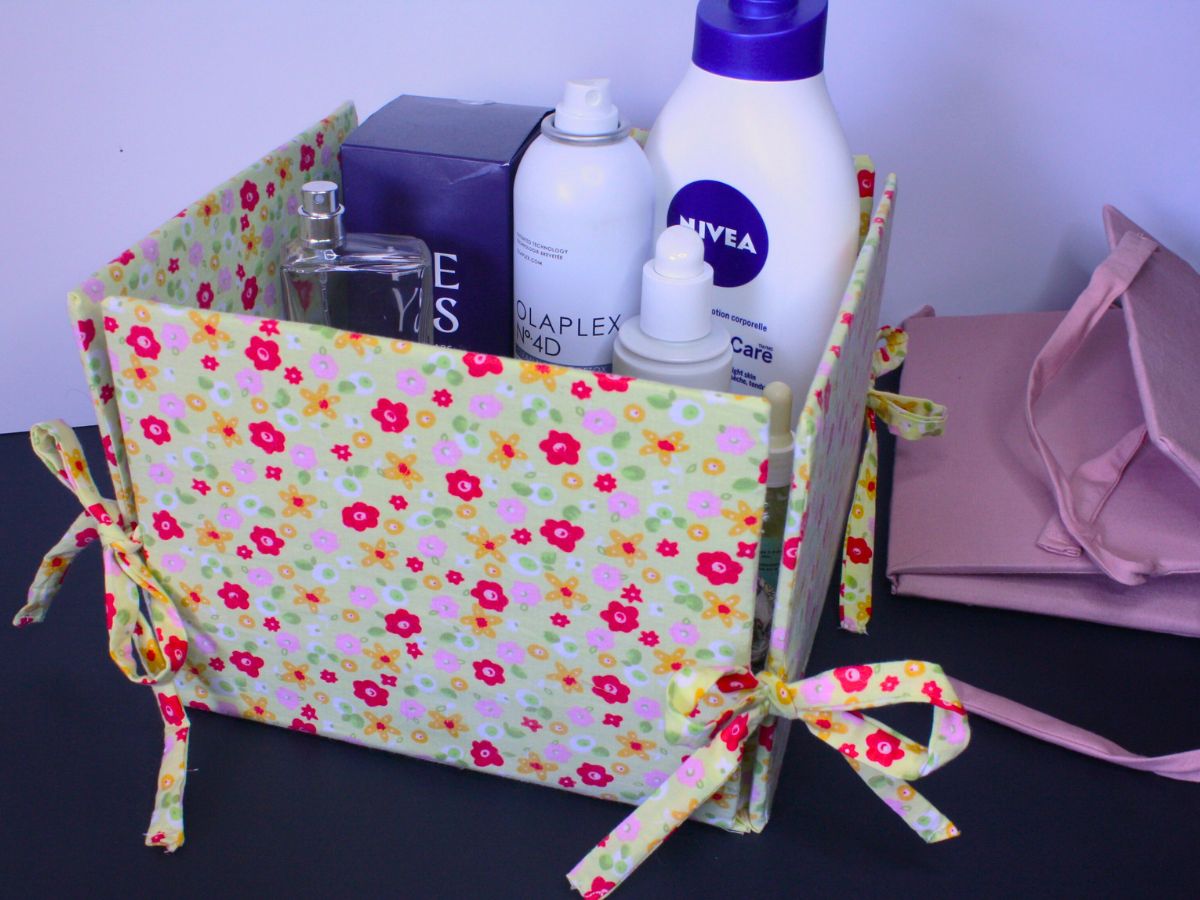
Who doesn’t love good storage. It is something non of us can do with out. So why not make it cute. This fabric storage box makes a great project you can easily make yourself, they work really well in a bedroom, nursery or office. What is really nice is when you are not using them they collapse down taking up very little space.
Be aware though that they aren’t a structural box made to store anything very heavy. More for things you need on a daily basis a few ideas that come to mind include, face cloths, towels, diapers, or toiletries
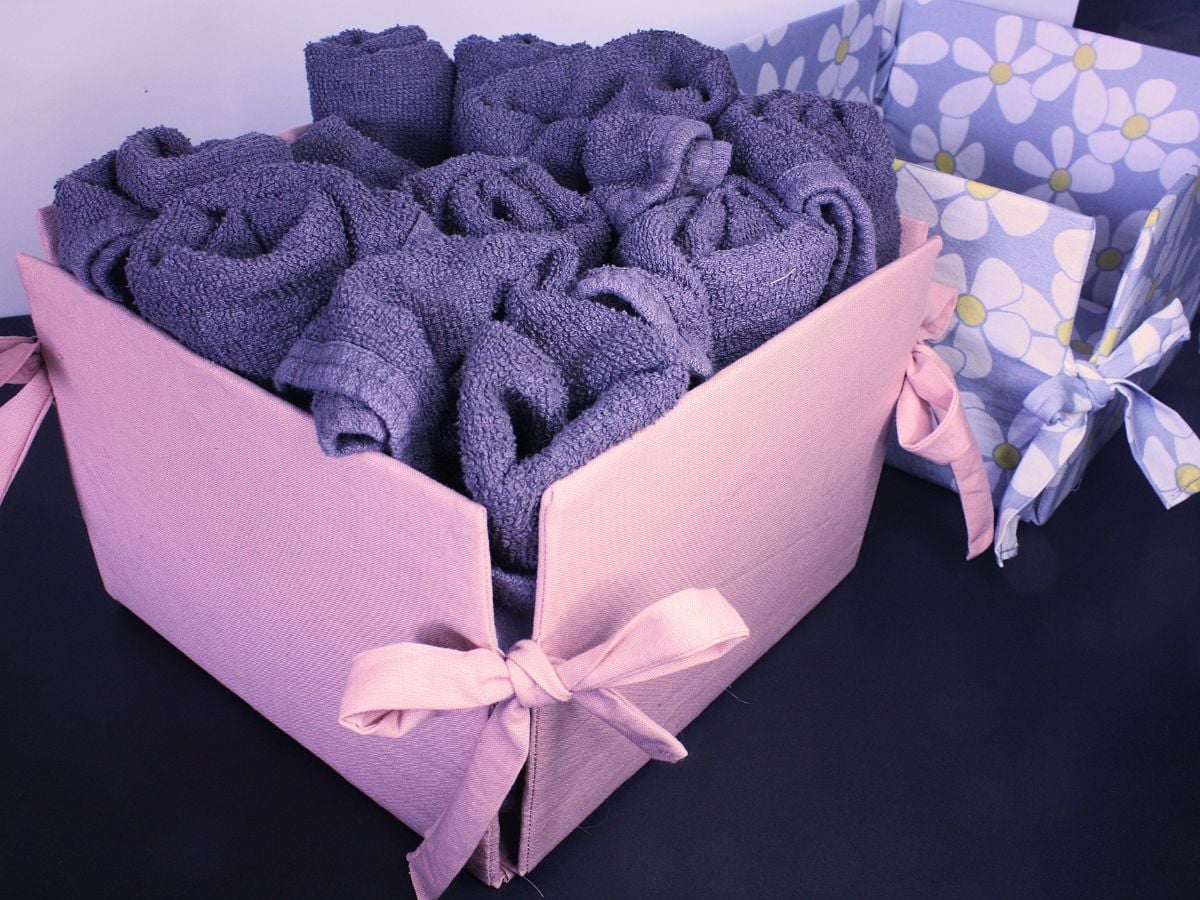
Another idea is to use it for gifts fill it with a beautiful gift for a friends or family. Line the box with a large muslin pouch to put the gift in. I love unique ways to to wrap gifts and my favourite’s are always the ones that I can reuse the wrapping material whatever that may be. And what is more reusable than a decorative fabric storage box.
This post includes affiliate links please see my disclaimer
What you need to make the fabric storage box
Tools
- Sewing machine
- Scissors
- Soft tape measure and/or ruler
- Erasable fabric pen or fabric chalk.
- Spray adhesive. I have used Elmers glue like this one
- Iron or fabric steamer.
- Sewing Pins
- Optional cutting mat, I was lucky and found mine second hand
Materials
- Fabric. This is a great pattern for secondhand fabric, bed sheets are a favorite of mine. You will need just less than a meters worth.
- Cardboard. Stiff cardboard nothing too thin. Good use for any cardboard boxes.
- Cardstock paper or paper you can cut your pattern out from.
- Thread that matches your fabric.

How to make the fabric storage box
Size. You can make your box any size you like
This pattern is based off:
The sides 8×6 inches
The base 8×8
The ties 10 inches each
Prep
Begin by cutting pattern pieces out of the paper stock you have. Remember to add a seam allowance. You will need one of each piece so:
1 base cut at 9×9
Side piece at 14×9, this is doubled because we are folding the fabric over
The ties 2×20 again this is doubled.
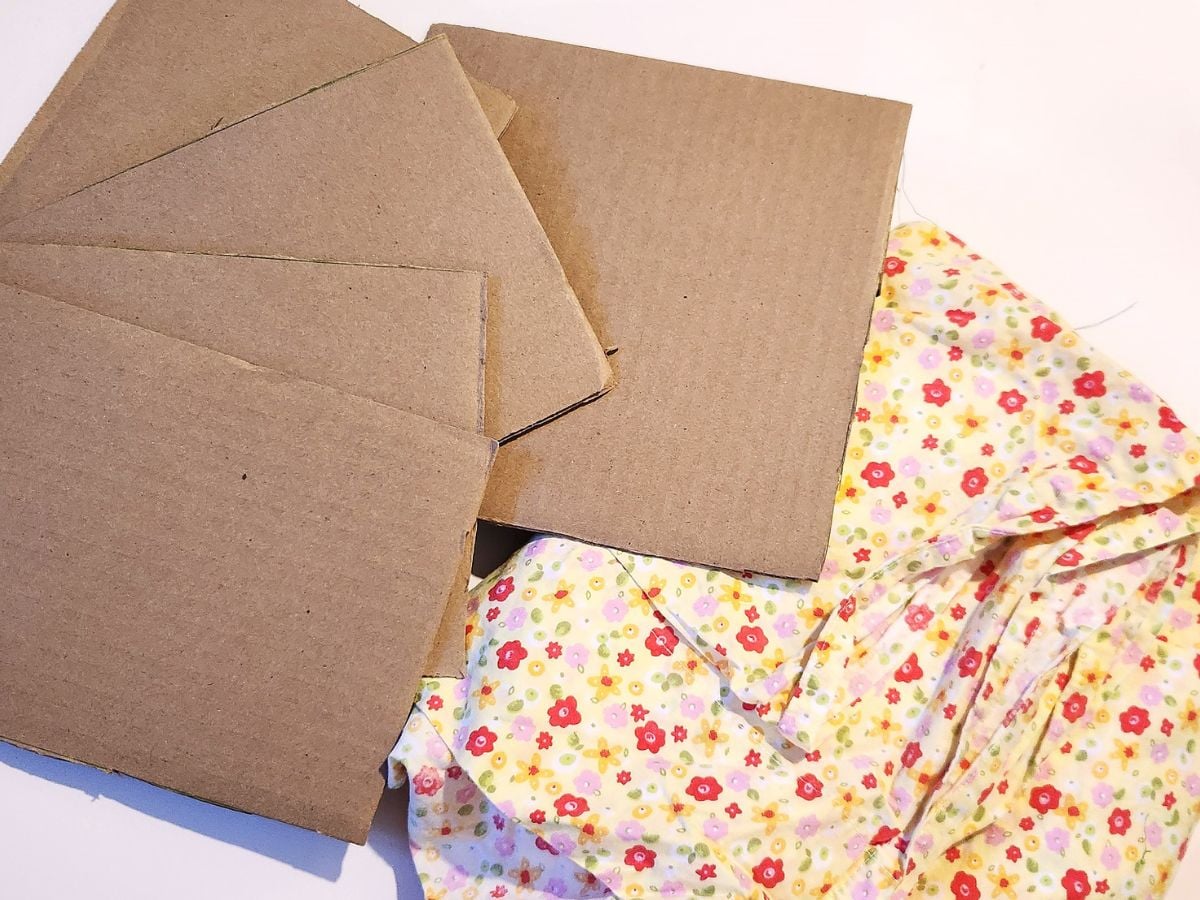
Next cut out your cardboard pieces. You will need:
1 8×8 base.
4 6×8 side pieces
Iron your fabric and then cut out all of your fabric pieces using your pattern. You should end up with:
2 9×9 base
4 9×14 side pieces
4 2×20 tie pieces

Take one of the fabric base pieces and the cardboard base, spray with some adhesive on each piece and affix the two together. Making sure the right side of the fabric is facing out. Fold over the edges of fabric around the cardboard piece making it as smooth and neat as you can. Put it off to one side to dry.
Ties

Make the ties. Fold the strips in half length ways wrong side facing out and iron in the crease. This makes it easier to sew as you shouldn’t need to pin it to sew. Sew down the length leaving a 1/2 inch seam allowance, and cut each piece in half. Now the fun part turning them the right way out. There’s a number of ways to do this I tend to use either a safety pin of chopstick, this may take some time to do. Iron each tie flat and sew up one of the ends.
Sides
Take a side piece and lay out right side up fold in half, measure 2 inches down from the crease and make a mark on each side (This is where the tie will be, you can alter this and place it where you prefer it to be).

Unfold and lay out right side facing up. Line up the tie seam along the edge where the mark is lining it up with the mark, the tie should be facing inward, pin it in place repeat on the opposite side.

Fold the fabric over wrong side facing out, the ties should be covered inside the fabric. Either measure across or I prefer to place one of the cardboard sides and mark your seams, we want the body to measure 8 inches across. I find using the cardboard side I get an accurate size we want the piece to fit those sides well.
Sew up each seam and turn right side out, slide a cardboard side piece inside. You should now have one side with two ties. Repeat this with the three other sides.
Trim the open bottom seam so that it measures 1/2 inch from the cardboard edge this will make sewing the base easier.
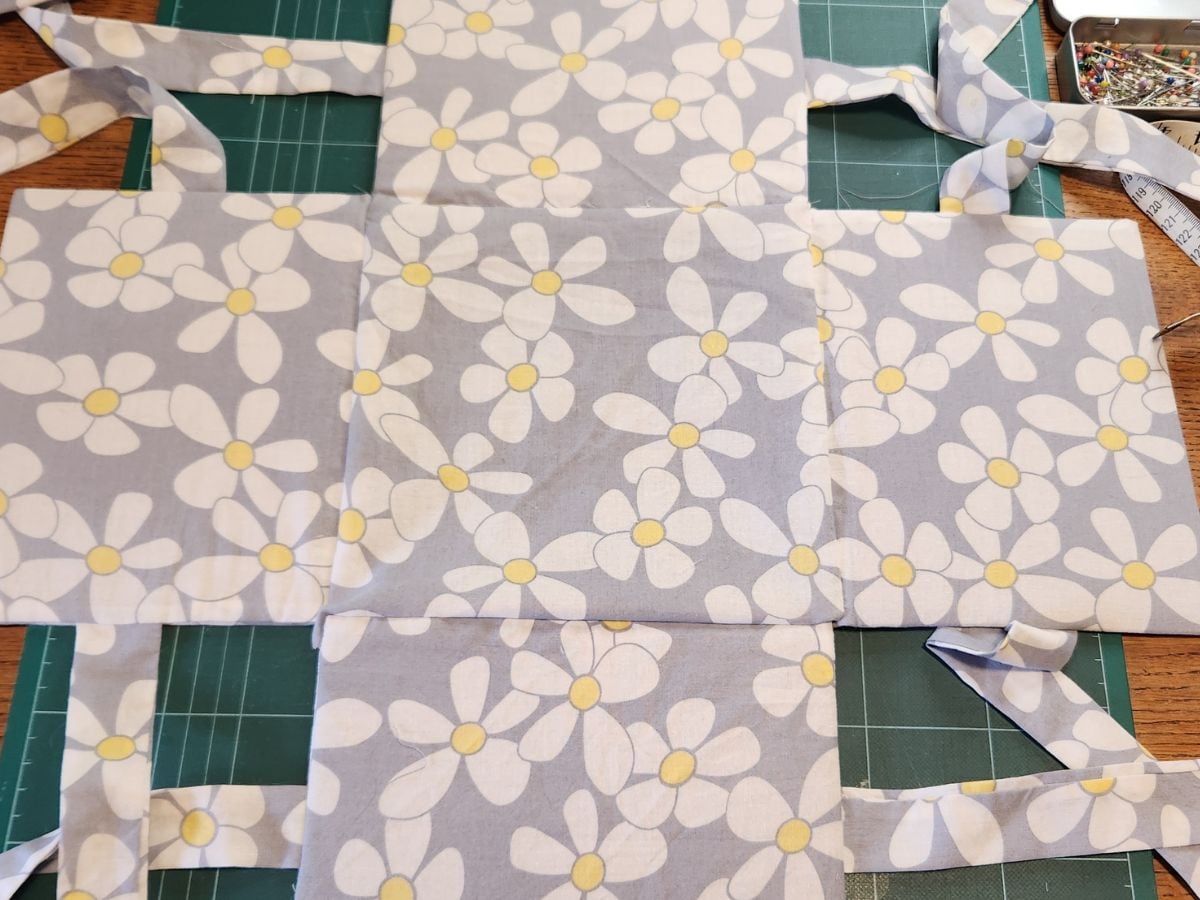
Sewing up

Lay out the other fabric base piece right side facing up and lay a side piece on top. Lining the open seam up with the edge of the base pin it in place, the base should overlap on each side by around half an inch.

I like to use a zipper foot (E) on my sewing machine for this part so that I can get closer to the cardboard without sewing on the cardboard, we want close but not tight up against.

Unfold this piece and lay out the next side onto the next edge and repeat the process sewing on all four sides.
Trim off any loose treads and rough corners to neaten it all up. Optionally for the cardboard base piece you have two options either glue it in place or leave loose either works well.
Lift the sides up and tie the ties together. You now have a completed collapsible fabric storage box.


Leave a Comment